Appearance
Projects
Projects are the main way to organize your work in TrackBear. You should create a separate one for every project you want to track.
Manage your projects
In order to see all your projects, click the Projects link on the sidebar and you'll be taken to the Projects page.
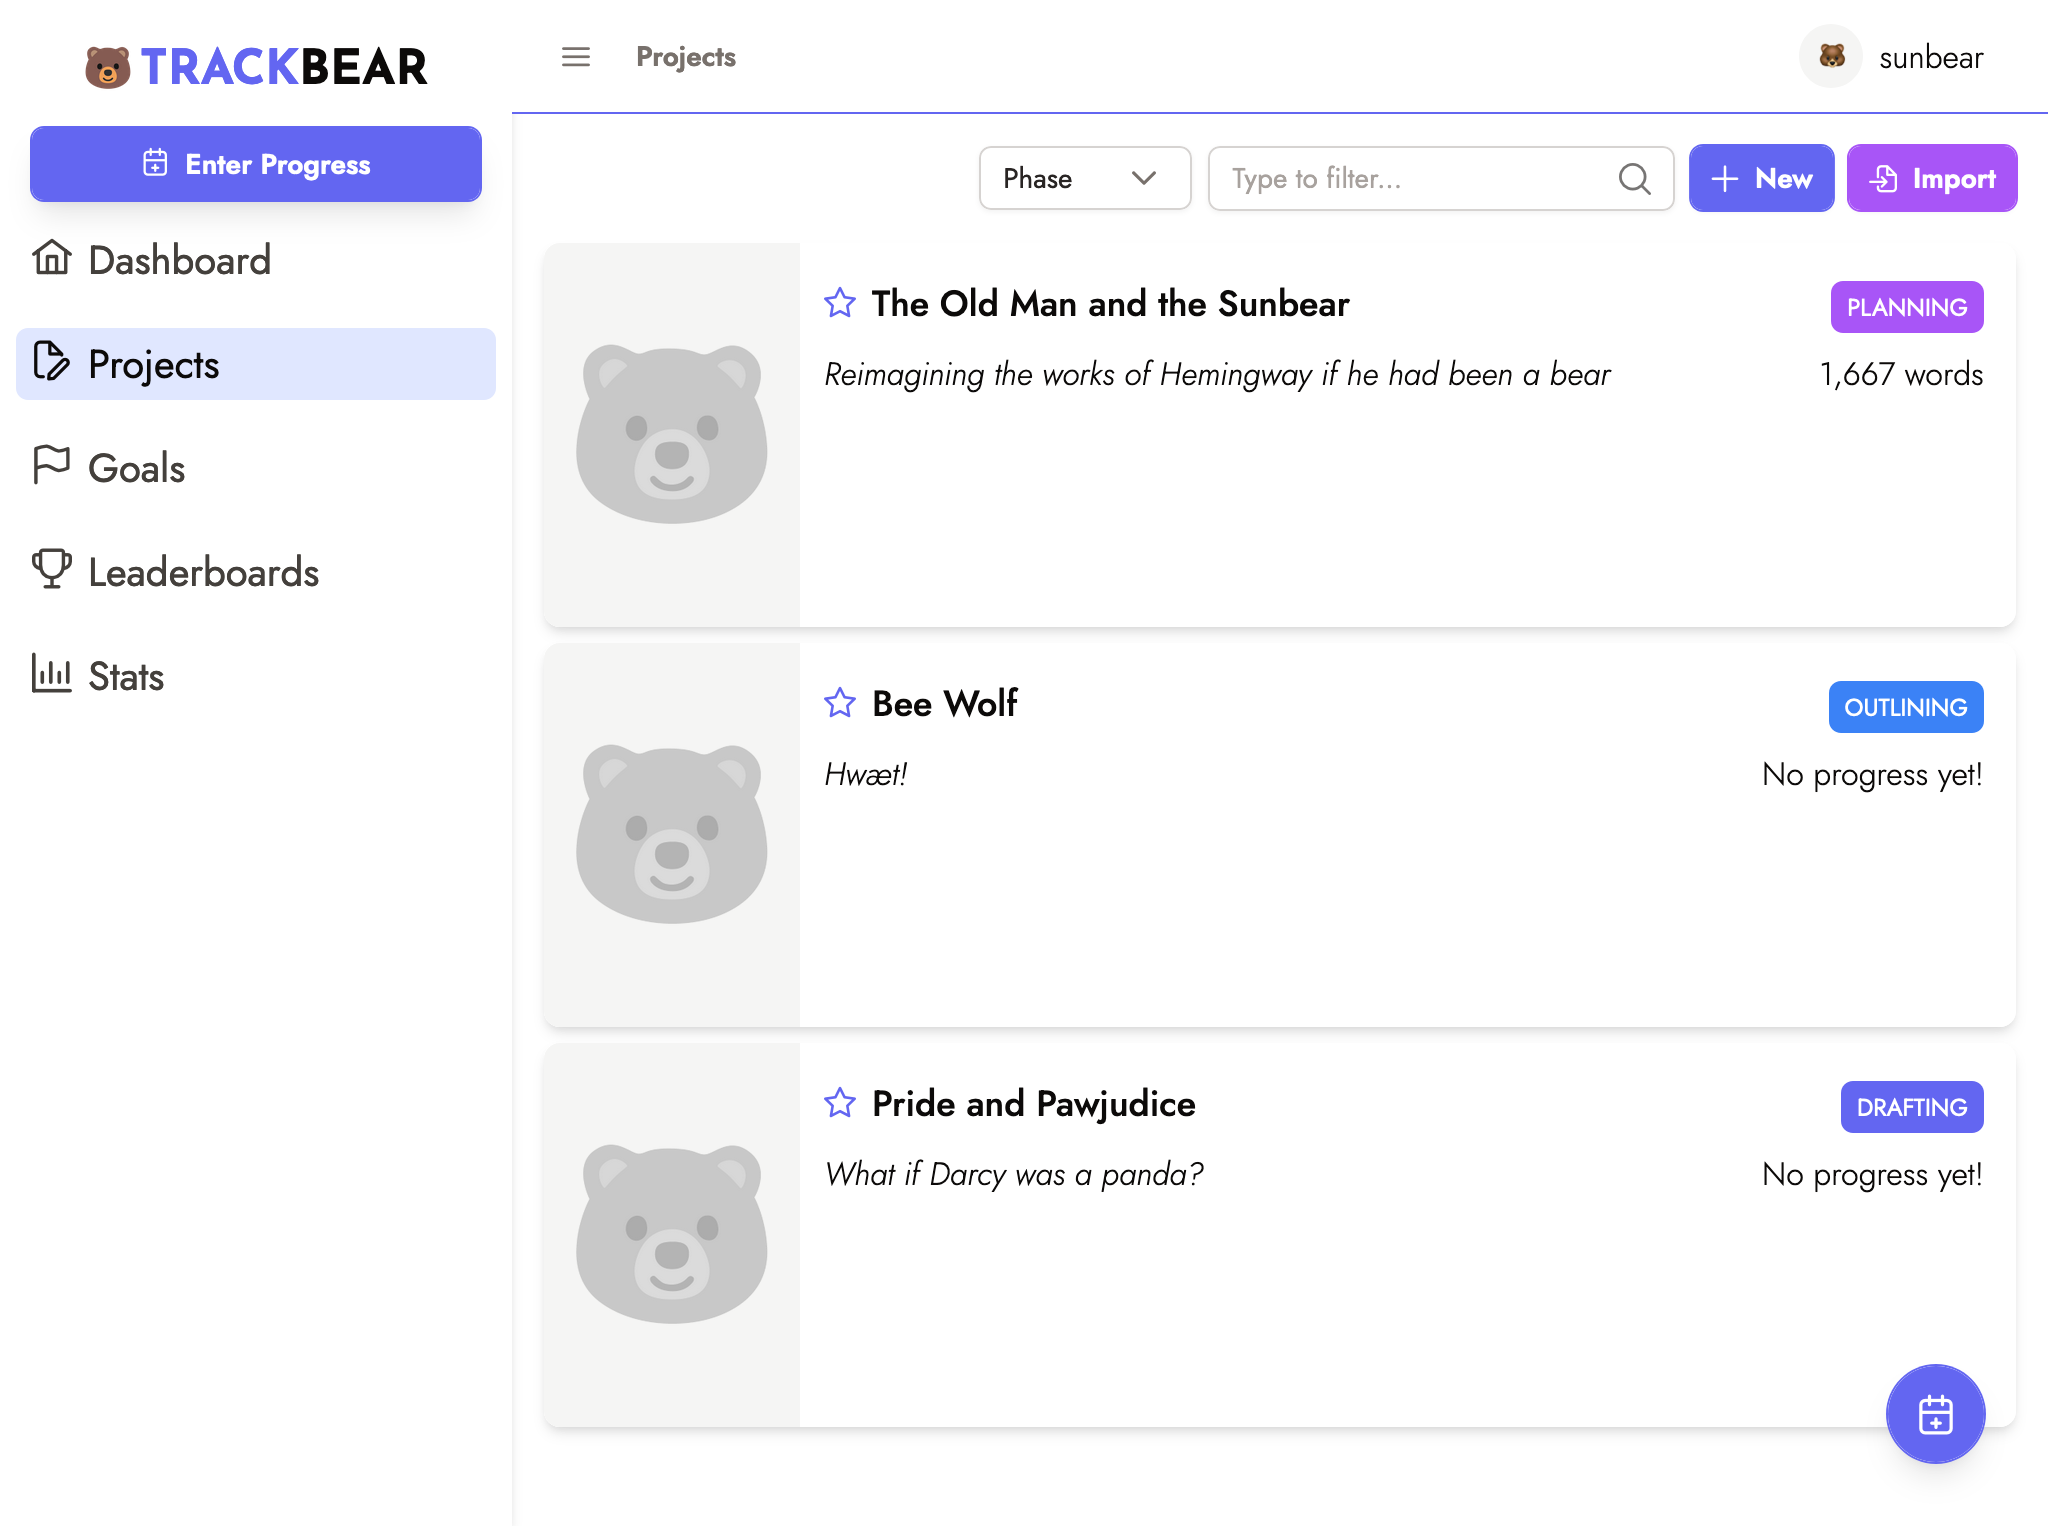
From here, you can click New to create a new project, Import to import projects from an outside source, star or unstar projects, or click on one of your projects to see your progress and more detailed information.
Star a project
On the Projects page, click the star icon on a project to star or un-star it. We recommend that you star the projects that you most frequently access.
Starred projects will show up at the top of the list on the Projects page, and at the top of any Project dropdown (say, in the Enter Progress dialog or when creating a goal). Starred projects will also show up as links in the sidebar for quick access.
See project details
You can see all the details about your project on the project details page. To get here, start on the Projects page and click your project.
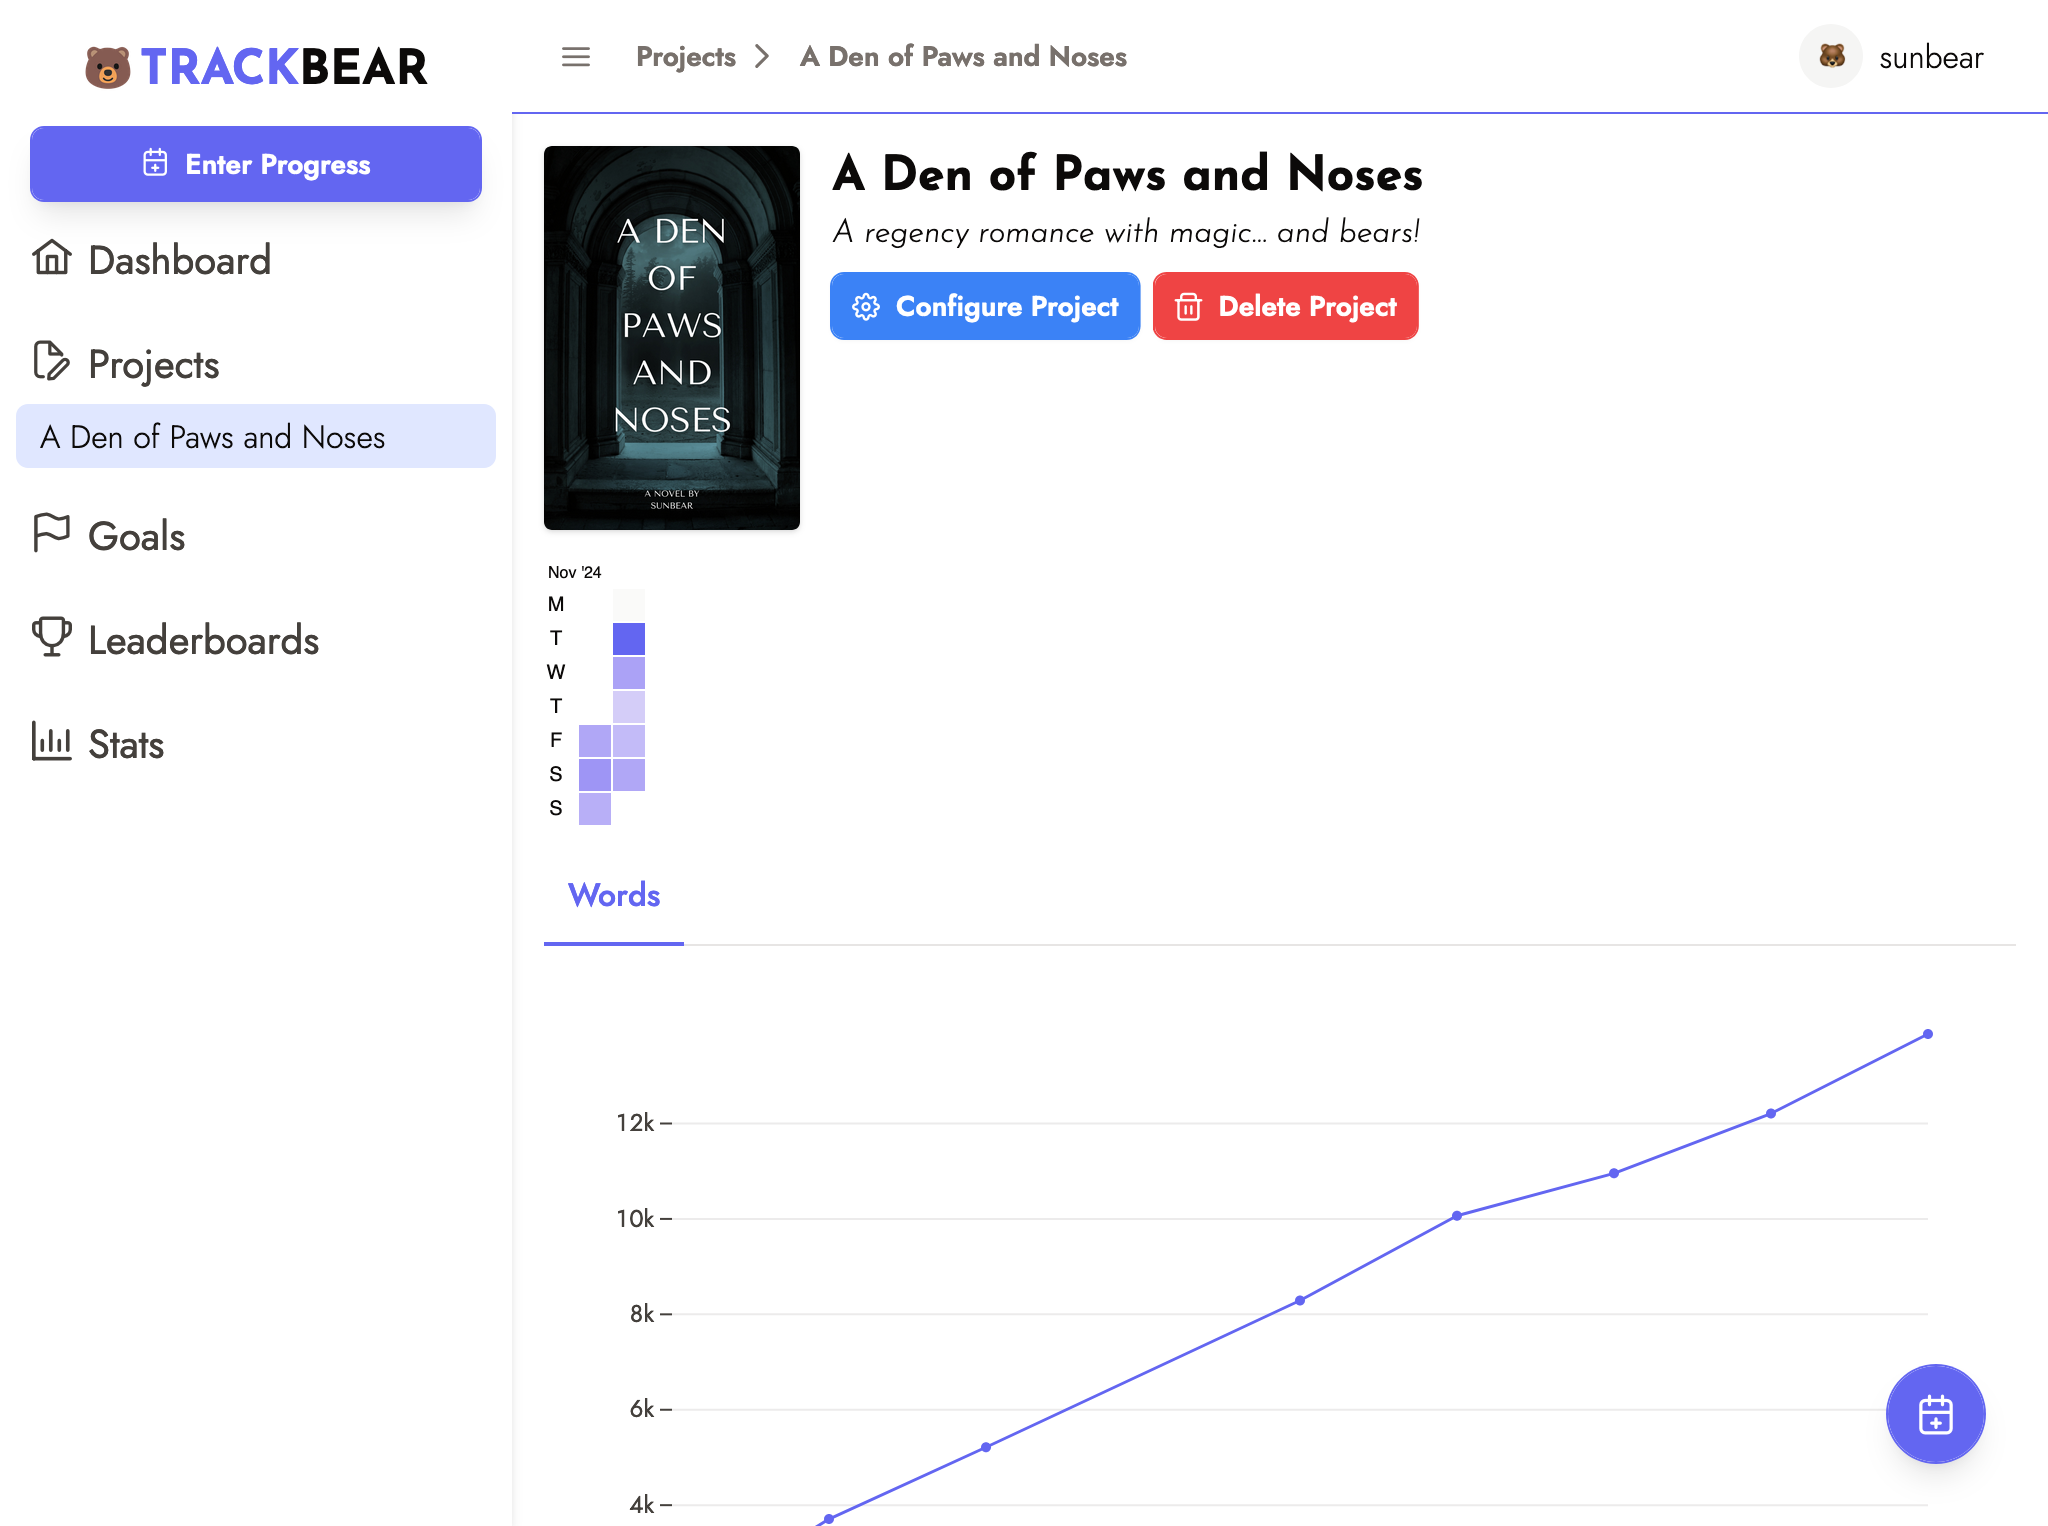
To learn more about the activity heatmap, graph, and table, check out the Tracking Progress help page.
Create a new project
In order to create a new project, click the New button in the top right of the Projects page. You'll be presented with the Create Project dialog:

Here's what each field does:
Title: The title for your project.
Description: A description for your project.
Show on profile? Toggle this switch to show this project on your public profile. (This has no effect if your profile is not enabled.)
Phase: What stage of development your project is at. Your choices are Planning, Outlining, Drafting, Revising, On Hold, Finished, or Abandoned. This field is mostly useful for your own recordkeeping, though you can also sort the list of Projects by phase.
Starting Balance: If you are creating a new project in TrackBear, but you've already done some work on it, use the starting balance to tell TrackBear about your previous work. Click the Add Starting Balance button, select the correct measure (words, time, etc.), and enter your existing count. You can enter multiple starting balances if you've been tracking, say, both words and pages.

To remove a starting balance, click the red minus button to the right of the starting balance.
Where do starting balances count?
Starting balances are there to make sure your headline project numbers are correct. Your starting balances count for any totals (on your project page, on your stats page, and on your profile) but they don't count as activity. That means your goals and leaderboards won't take your starting balances into account, and starting balances don't affect activity heatmaps.
Once you've filled in information about your new project, click Submit and you'll see your new project in the projects list.
Edit a project
In order to edit a project's title, description, or other properties, go to that project's page and click the Configure Project button. You'll be brought to the Configure Project page, at the top of which you should see the Edit Project section:
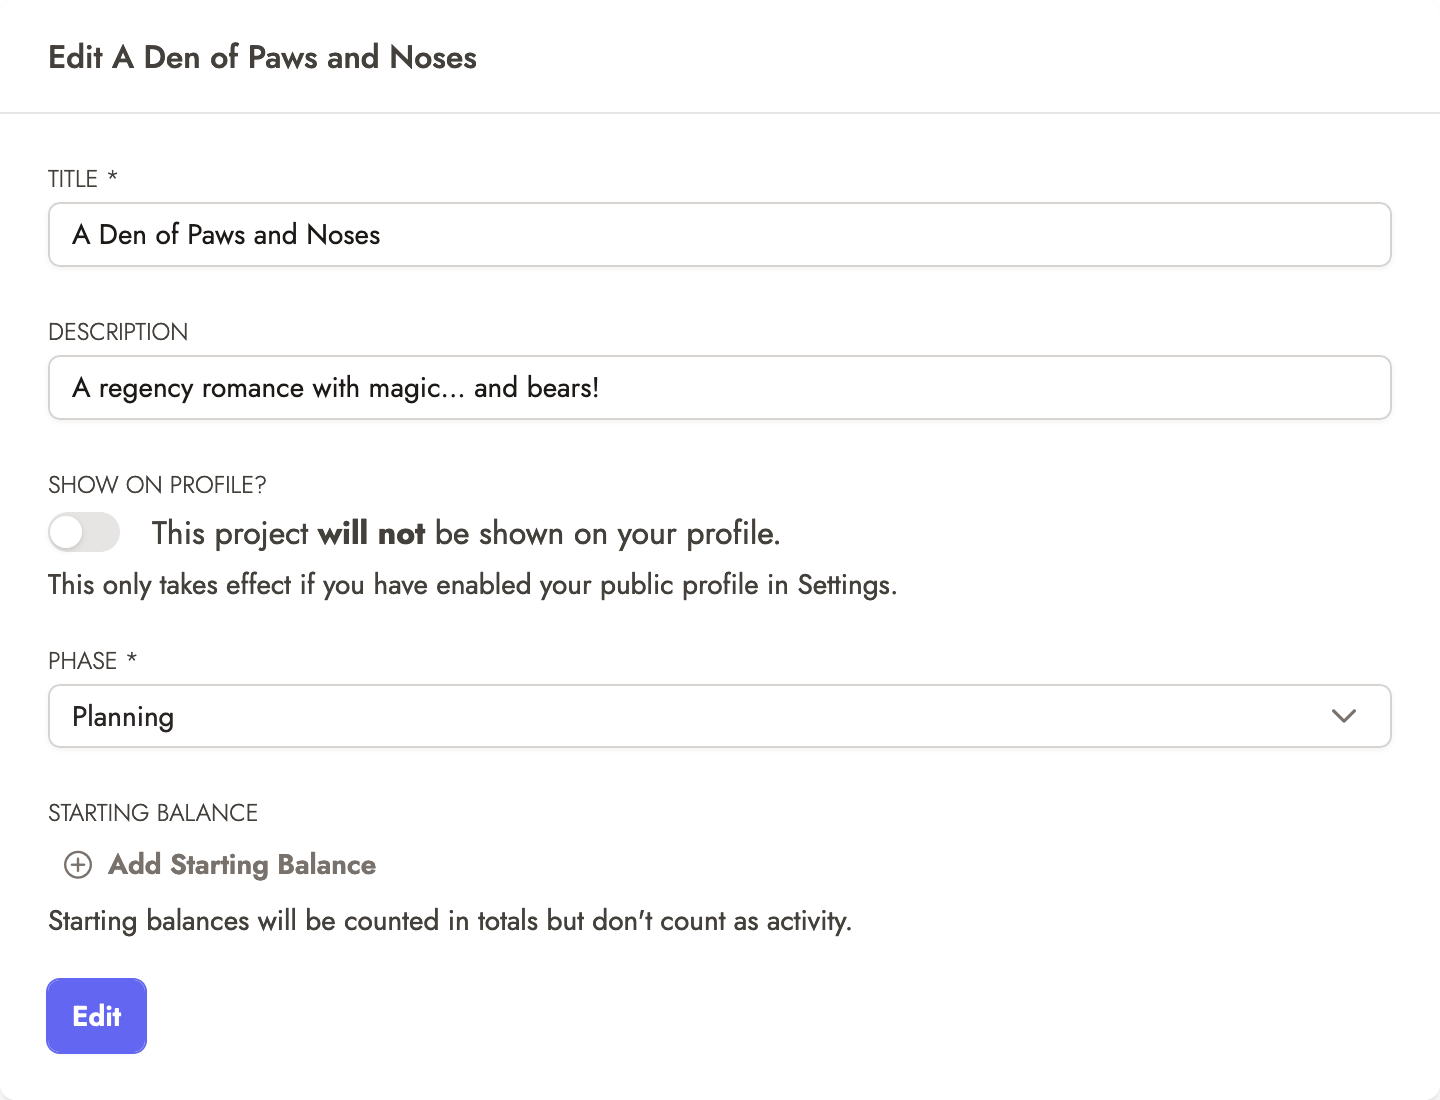
All of the fields on this page act the same way as the fields in the Create Project dialog. When you're done, click Edit to save your changes.
Add a cover
To add a cover to your project or replace your current cover, go to that project's page and click the Configure Project button. You'll be brought to the Configure Project page; scroll down until you see the Upload a Cover section. Click the Upload button and you'll see this dialog:
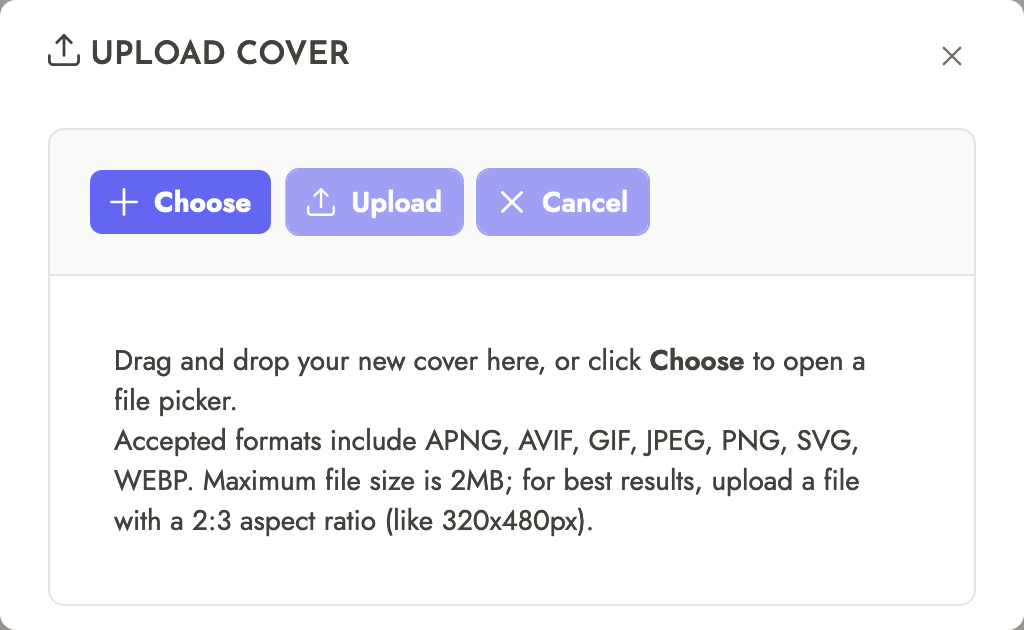
From here, you can either click Choose to browse for an image, or you can drag-and-drop an image onto the dialog box to choose it.
Cover image requirements
Cover images must be 2MB or less and can be AVIF, GIF, JPEG, PNG, SVG, or WEBP format. For best results, your cover image should have a 2:3 aspect ratio. If you go with something like 640px wide by 960px tall, you should be good.
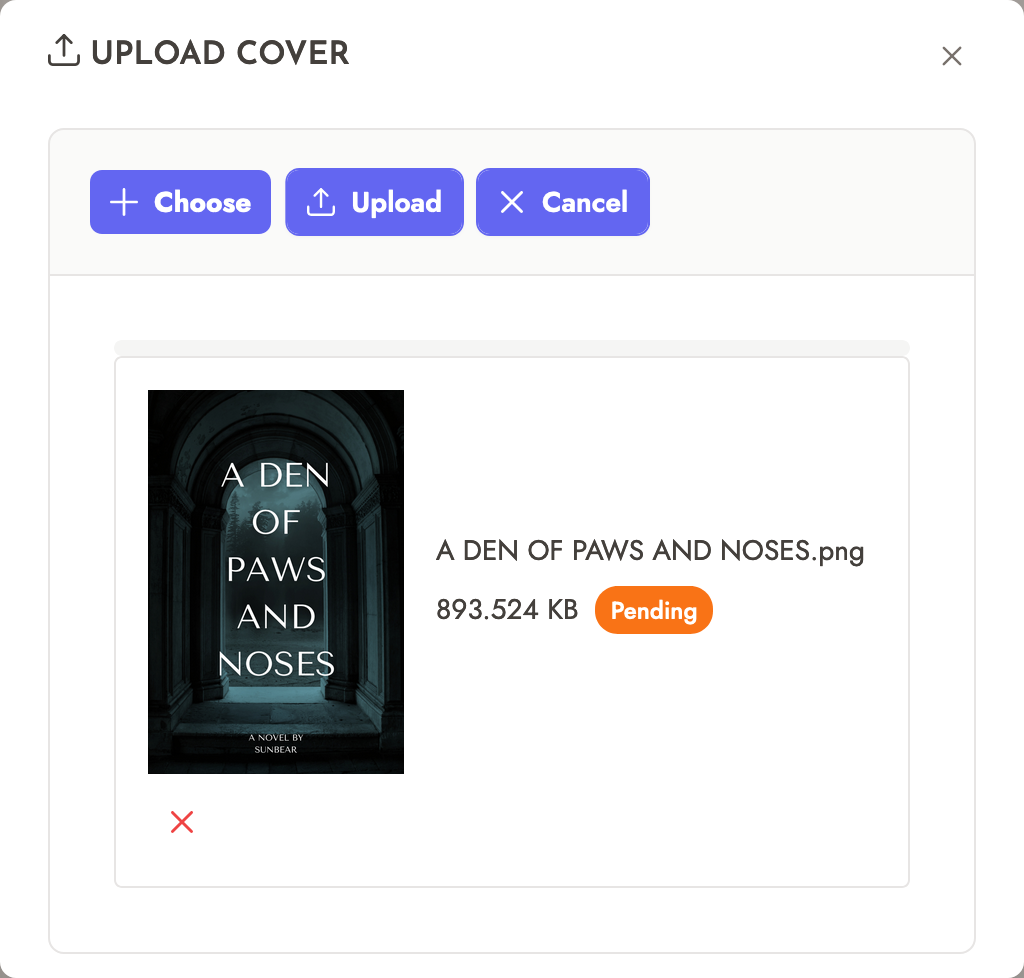
Once you've chosen an image, click Upload to upload your cover.
Remove a cover
To add a cover to your project or replace your current cover, go to that project's page and click the Configure Project button. You'll be brought to the Configure Project page; scroll down until you see the Upload a Cover section.
Click the Remove button, then click Yes on the popup to confirm. Your cover will be removed.
Delete a project
To delete a project, go to that project's page and click the Delete Project button. You'll be asked to type the project's name as confirmation. Do so, and click Delete. The project will be deleted.